

If you have learned anything by watching our videos or reading our blog (besides the fact that we make epic chin mounts for action cameras) it is that we abuse the shit out of our clutches. You kinda have to for the area that we ride in, or at least that is what we tell ourselves in order to sleep at night, the aroma of smoked friction plates filling the room.
Kjeld specifically has a history with this, and even with a Rekluse in his KTM there was still a bit of slippage. This is not a dig on Rekluse, but more of a lead in on how to adjust the clutch preload in a “Springless” Belleville Washer System. This system has three levels of adjustment, and Kjeld started on level three AKA the lightest level with the easiest lever pull, which was fine for a while, but after a couple hours on hot days there was an annoying amount of slippage. The plan was to adjust it one step heavier.
Here is how to do it.
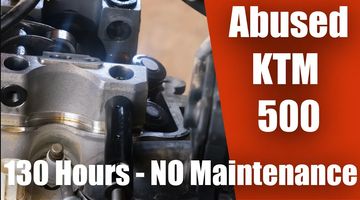
Step 1) Gently lay your bike down with the clutch cover facing up, that is unless you feel like changing your oil at the same time.
Step 2) Remove the brake return spring.
Step 3) Loosen the clutch cover bolts and remove.
Step 4) Loosen the screws holding the Belleville washer in place a little bit at a time in order to keep a relatively even pressure, noting their position before removing them.
Step 5) Change the position of the screws either higher or lower depending on your clutch preference. In our case, we went from three to two, which is the “stock” setting. Do not overtighten the screws as the torque specs are pretty low. We recommend hand tightening them.
Step 6) Replace the Clutch cover and tighten the bolts to spec, again by hand.
Step 7) Reattach the brake lever spring.
Step 8) Go shred your favorite single track for a few hours to make sure it is to your liking. We recommend videoing the ride using your favorite action camera attached to one of our custom chin mounts.
Step 9) Repeat step 8 as needed.
You can check out the video of this procedure here if you need a little visual aid.